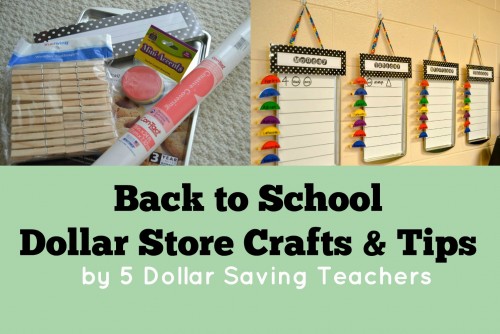
Saving money in the classroom is a top priority for teachers. There are many educational lessons and activities to put together for students, so money saving tips are always welcome. These 5 Dollar Saving Teachers created budget-friendly dollar store crafts using Teacher Created Resources classroom decorations and supplies from a dollar store. They offered up tips on stretching your dollar for classroom projects and organization, and also pinned all their projects and ideas on our Pinterest board.
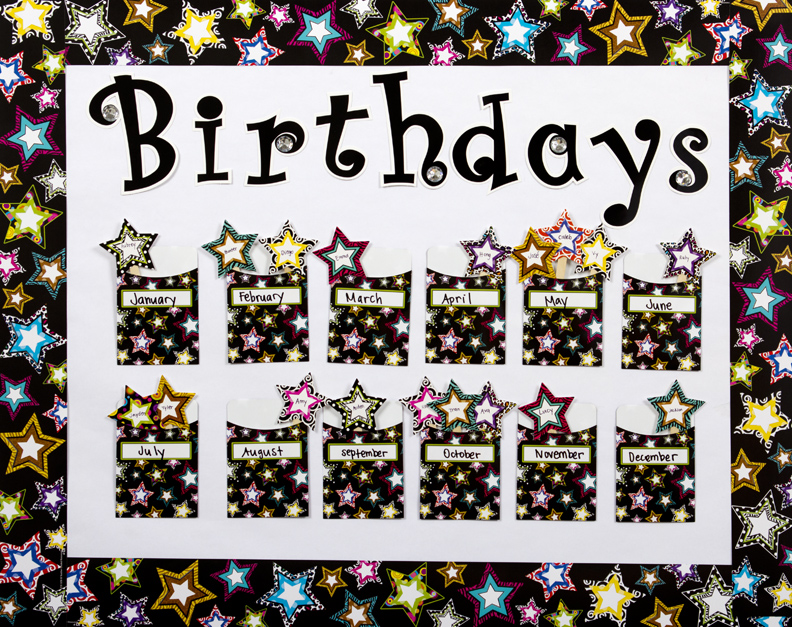
 Erin from Creating & Teaching
Erin is a Preschool Special Education Teacher and is in her 5th year as a teacher. As a special education teacher she is always making classroom activities and lessons herself to help differentiate instruction. She posts tons of teaching ideas on her blog, Creating & Teaching. Because of this, she also tries to find ways to save money when shopping for the classroom. There are tons of items I pick up at the local dollar stores to help in the classroom. She always shops them mid-end of summer to stock up on classroom bins.
Erin’s Dollar Saving Tip: A huge money-saving tip I stick to is “shopping a year in advance.” I buy seasonal supplies on clearance and save them for the following year. This helps me get items for 70-80% off! And lastly, never forget you can always re-purpose. It might just take a simple ribbon you already have on hand, or a can of spray paint to spruce something up!
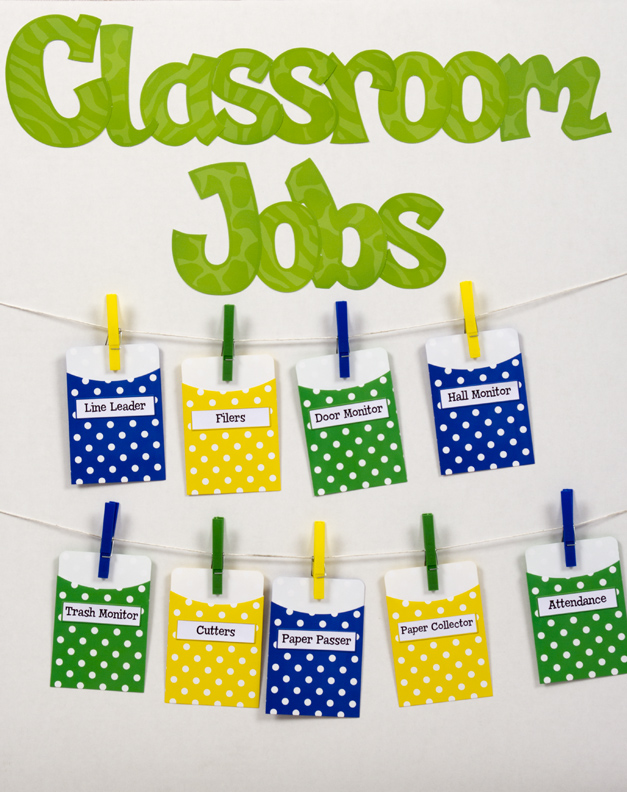
 Leslie Ann Rowland from Life in First
Leslie Ann is a former 1st grade teacher, and is currently teaching reading and language arts in 5th grade. She posts about her classroom in Life in First. One of her absolute favorite things about teaching is designing and creating her classroom each year. She loves finding different ways to cozy up a space that she spends a ton of time in!
Leslie Ann’s Dollar Saving Tip: I’m always looking for ways to save a little money while still creating cute things. One way to do this is to stock up on cheap containers and decorate them! There’s no need to break the bank on fancy containers when you’re going to label them anyways! Save the containers after you are done with them and reuse again and again!
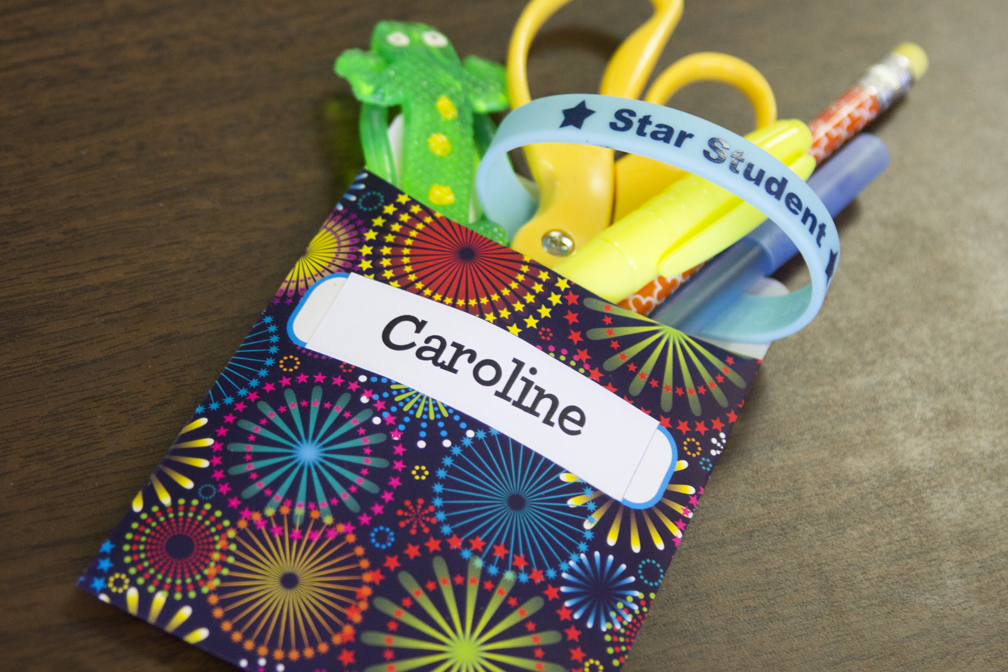
 Nicole from Teaching with Style
Nicole is the teacher and blogger behind Teaching with Style! She has taught grades Pre-K through 3rd for eight years in Oregon. She is currently starting her third year in the beautiful state of Hawaii and is moving back to her first love: first grade! Nicole loves to read, craft, and play at the beach with her family and dog, Bruce!
Nicole’s Dollar Saving Tip: Learn to be creative with ways to save money and stretch your dollar for creating inviting spaces and fun activities for classrooms by reusing items you already have.
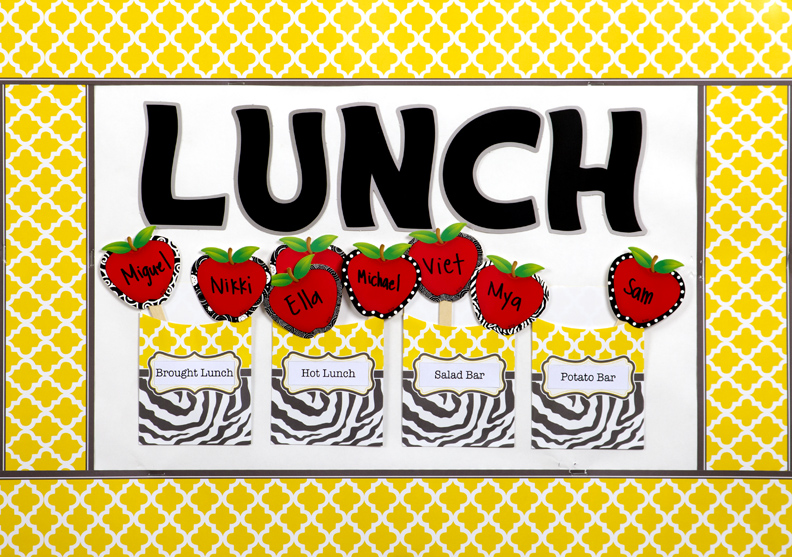
 Lori from Teaching with Love & Laughter
Lori has been a primary teacher for 20 years. She writes Teaching with Love & Laughter Blog. Lori has taught everything from Pre-K to 5th grade. Although she loves all grades, kindergarten and first grade are her absolute favorite! She is a laid-back, casual teacher. She quickly earns the respect of all her students by treating them fairly. She teaches each day with love and laughter.
Lori’s Dollar Saving Tip: Buy plastic tablecloths at the end of seasons and holidays on clearance to use to cover tables for art projects and to cover your classroom furniture for the summer, instead of wasting bulletin board paper. You can also get inexpensive cards and stationery on clearance to use at your writing station.
 Jennifer from Kinderdrama
Jennifer teaches Kindergarten in the California desert. She is the owner of Kinderdrama blog. Jennifer is in her sixth year and is excited to start the year off organized in a newly decorated classroom! She loves shopping, crafting, decorating, and most of all teaching the little ones at home who inspire her daily. Teaching Kindergarten is not my job, it is a way of life!
Jennifer’s Dollar Saving Tip: Glue sticks can be so pricey and in Kindergarten we use a ton each day. In order to save money on glue I purchased the UPPTÄCKA bottles from IKEA and use them for white glue. You get 4 small bottles for .99 (member price) and they come with 4 different colors in each pack. I fill them 1/2 way so the glue does not come out too fast. They are perfect and DO NOT clog!