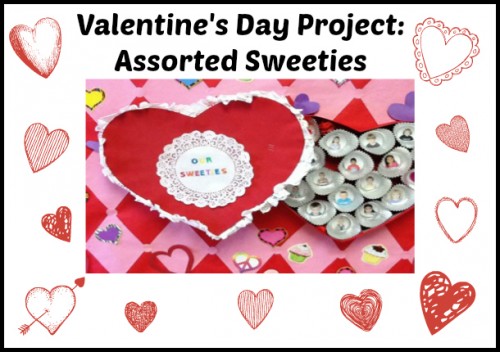
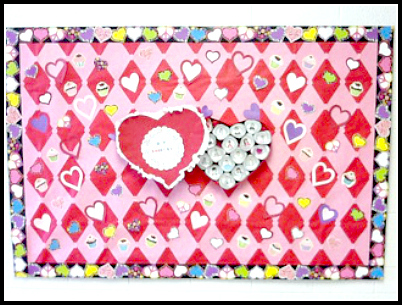
Love is in the air! The inspiration for this Assorted Sweeties Valentine’s Day bulletin board came from page 39 in TCR’s book-Seasonal Activities: Winter. To create this Valentine’s Day project, you should start by having the students create their own “sweeties” to fill a big heart shaped box on a bulletin board. Students will gain fine-motor skills as they sponge paint paper hearts and glue photographs to cupcake liners. This is such a sweet Valentine’s Day classroom project that you can add your own personal touches to. My class decided to cut out paper hearts instead of painting hearts with a sponge.
First, I put up a red background and glued pink diamonds to it. Next, I made the large, heart-shaped candy box out of poster board and decorated it with a plethora of festive items. Then it was time for the students to get to work. Each student glued a picture of him or herself in the bottom of a small cupcake liner—there are so many styles to choose from! We added each student’s “sweetie” to the large candy box and put it on the bulletin board. I filled in the rest of the board with a variety of items including hearts the students cut out. The kids love seeing if their parents can find them in the candy box during pick-up time. Want to try this project in your classroom? Here are the step-by-step instructions.
Student Sweeties
Materials:
- 2″ Circle Pattern
- 3″ x 5″ Student Photo
- 1 Foil Cupcake Liner
- Scissors
- Glue
Instructions:
- Create a 2″ circle pattern. Use it to cut the students photographs into circles to fit inside the cupcake liners.
- Distribute the cupcake liners and students photograph circles.
- Demonstrate how to glue the photograph inside the cupcake liner. Set aside to dry.
- Explain to students that each of their “sweeties” will be added to a larger box.
Let’s put it all together now..
Assorted Sweeties Bulletin Board
Materials:
- Red & Pink Bulletin Board Paper
- Red & White Tempera Paint
- Heart-Shaped Sponges
- White Tissue Paper
- Paper Lace Doilies
- Scissors
- Stapler
- Letters or a sign that reads “Assorted Sweeties”
- Border Trim
- Student Sweeties (See instruction above)
Instructions:
- Cut the pink bulletin board paper to fit the board. Demonstrate how to dip heart sponges in white or red tempera paint and sponge paint hearts onto the pink paper.
- Allow the students to randomly sponge paint several hearts. Set the pink paper aside to dry. Staple the pink paper onto the bulletin board.
- Cut the red bulletin board paper into the shape of two large hearts.
- Staple the paper lace doilies around the edges of both hearts.
- Staple one red heart on the left side of the bulletin board leaning to the left. Staple the letters or sign, “Assorted Sweeties,” on the heart. Overlap the second heart on top and staple it to the board.
- Randomly place the completed Student Sweeties projects in the second red heart.
- Glue crumpled tissue paper in the space between the cupcake liners, add additional decorations, and finish the board with border trim.
The following items were used to complete this board:
Cupcakes Mini Accents from Susan Winget
Fancy Hearts Mini Accents
Fancy Hearts Straight Border Trim


