Here is a simple craft that your students will absolutely love during spooky season. We’ve included a step-by-step guide with photos to enhance your crafting experience!
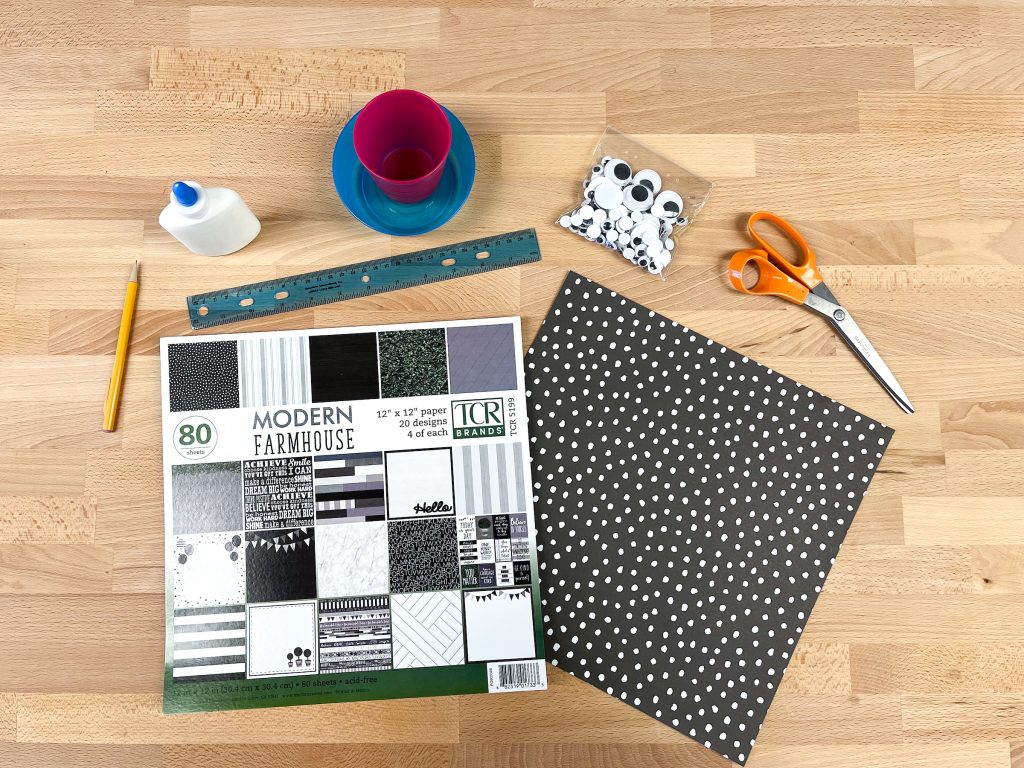
This craft only requires a few materials (shown below):
- Craft Paper – we used Modern Farmhouse Project Paper
- Googly Eyes
- Scissors
- Glue
- Pencil
- Ruler
- Objects for Tracing
Step 1:
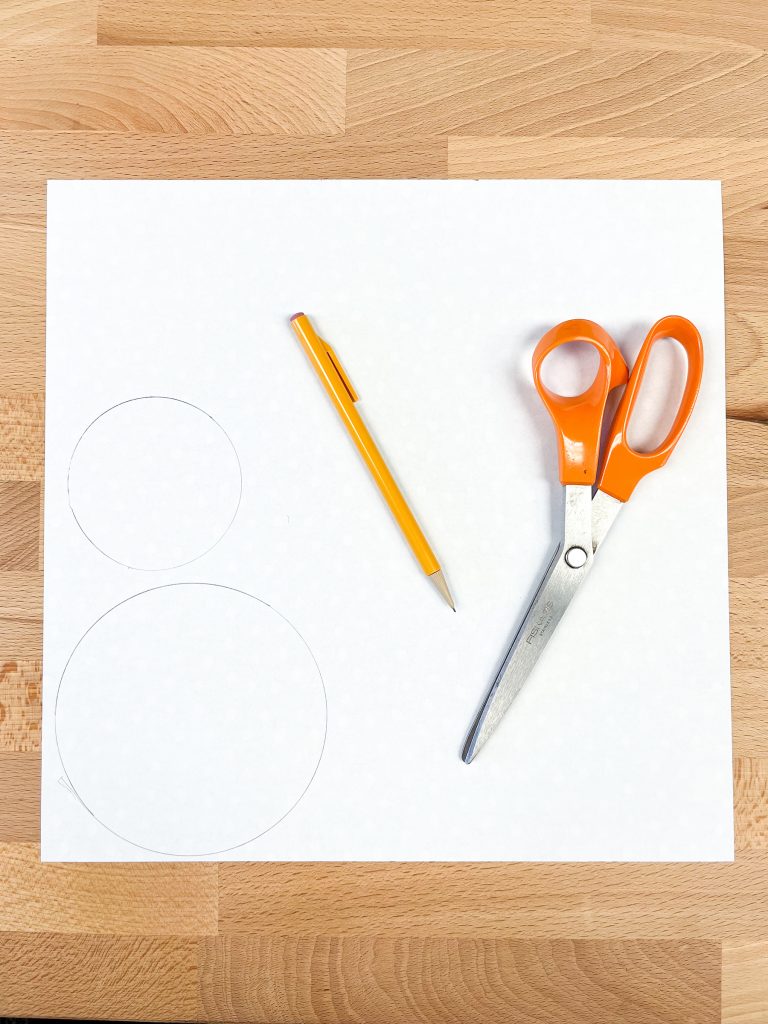
To start, take out a piece of craft paper. Flip it over and trace a 5-inch circle and a 3-inch circle. The 5-inch circle will be the spider’s body, while the 3-inch circle will be the spider’s head. When finished tracing, cut out the two circles!
Step 2:
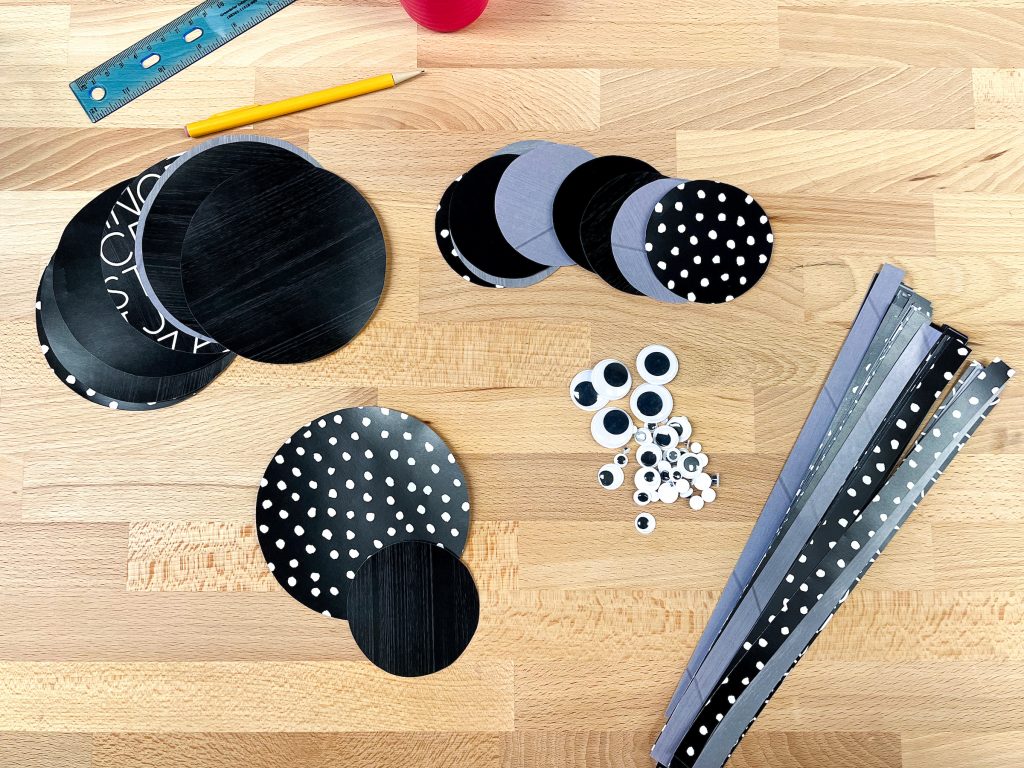
Next, take your craft paper and cut out eight half-inch strips (pictured below on the right). Now, you have all of the pieces you need to craft your spider!
Step 3:
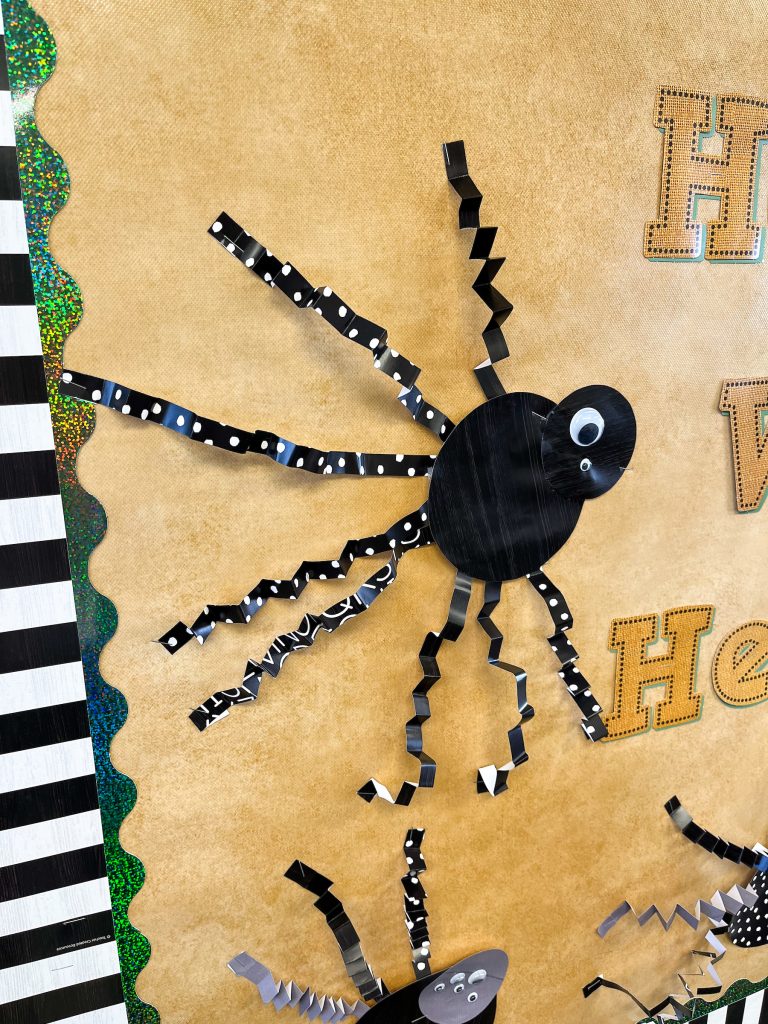
Take the eight strips of project paper and accordion fold each one to make the spider’s legs.
Once the strips are accordion folded, glue the legs underneath the spider’s body.
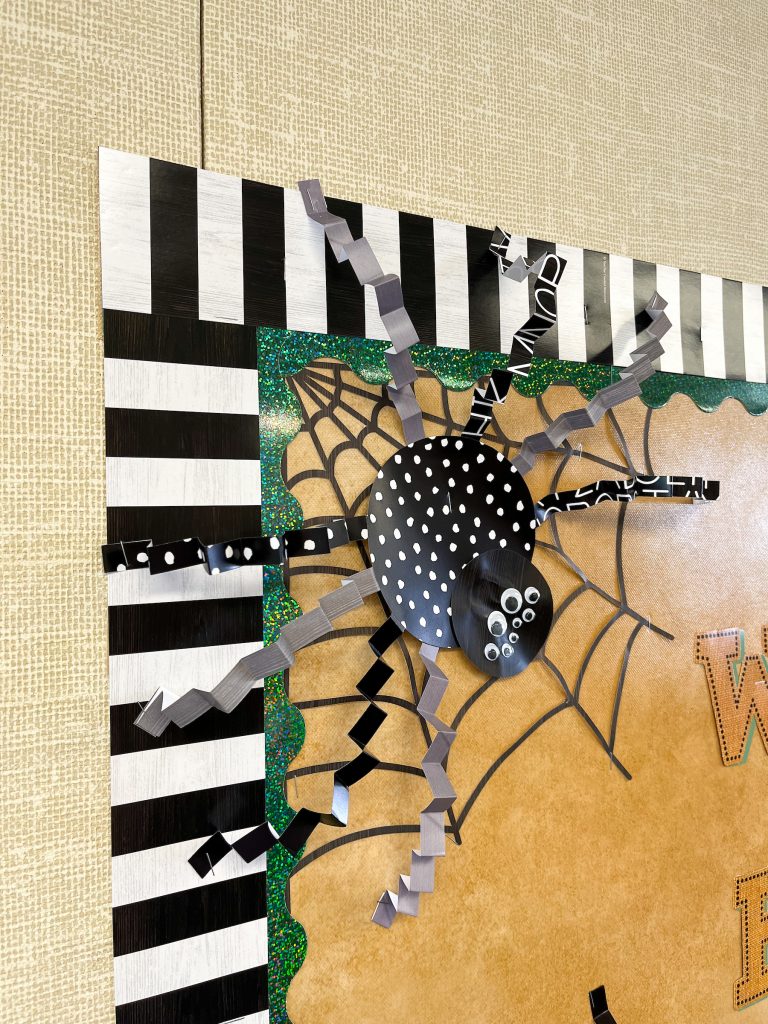
Glue the spider’s head onto the top of its body.
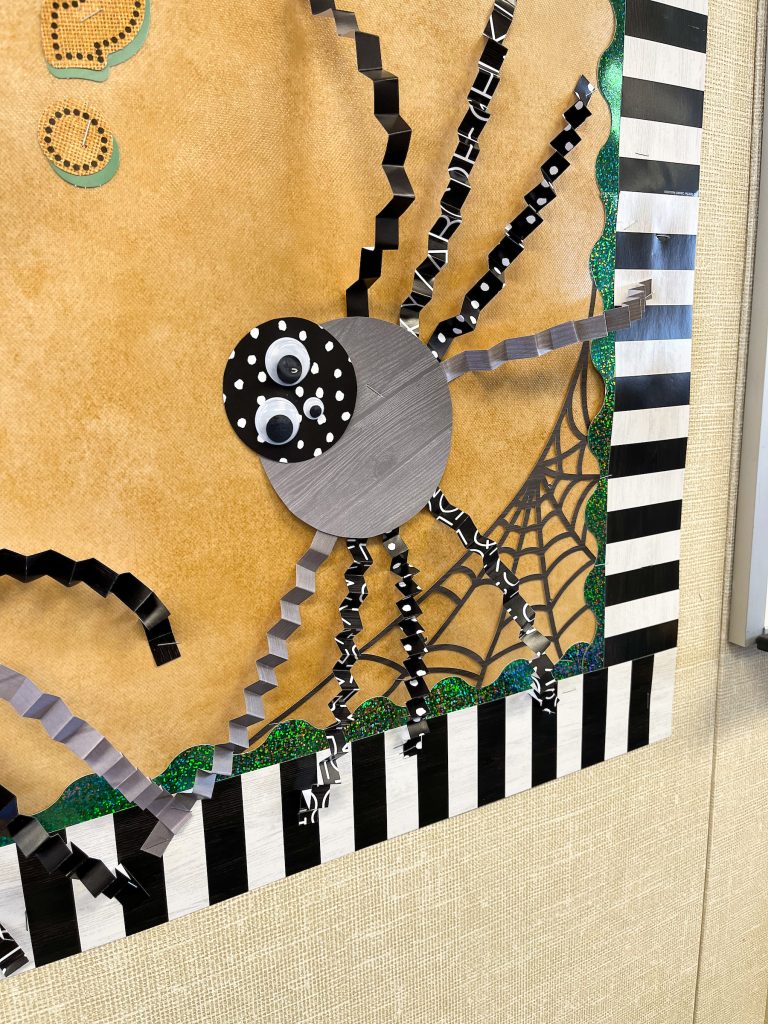
Then, take some googly eyes and glue them onto the spider’s head. You can glue on as many eyes as you’d like!
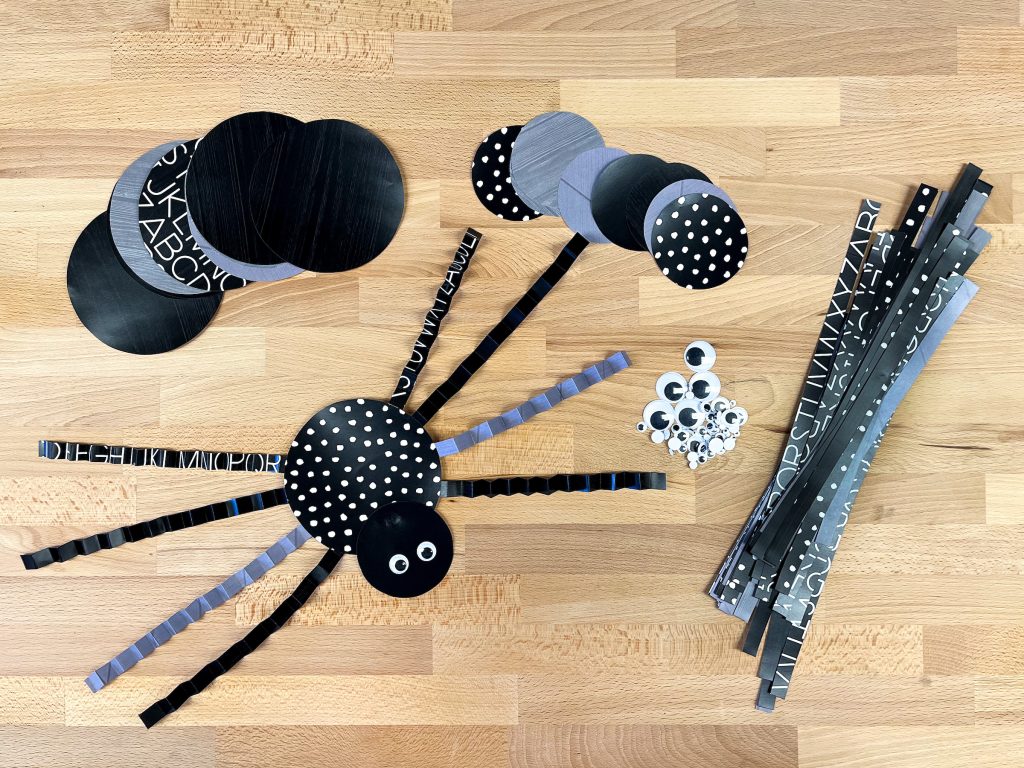
Now, you have your spider craft! Simple as that. Feel free to make your spider as funky as you’d like! Encourage your students to be creative with this craft.
For more in-depth instruction, we encourage you to check out our Spider Craft Tutorial on TikTok.
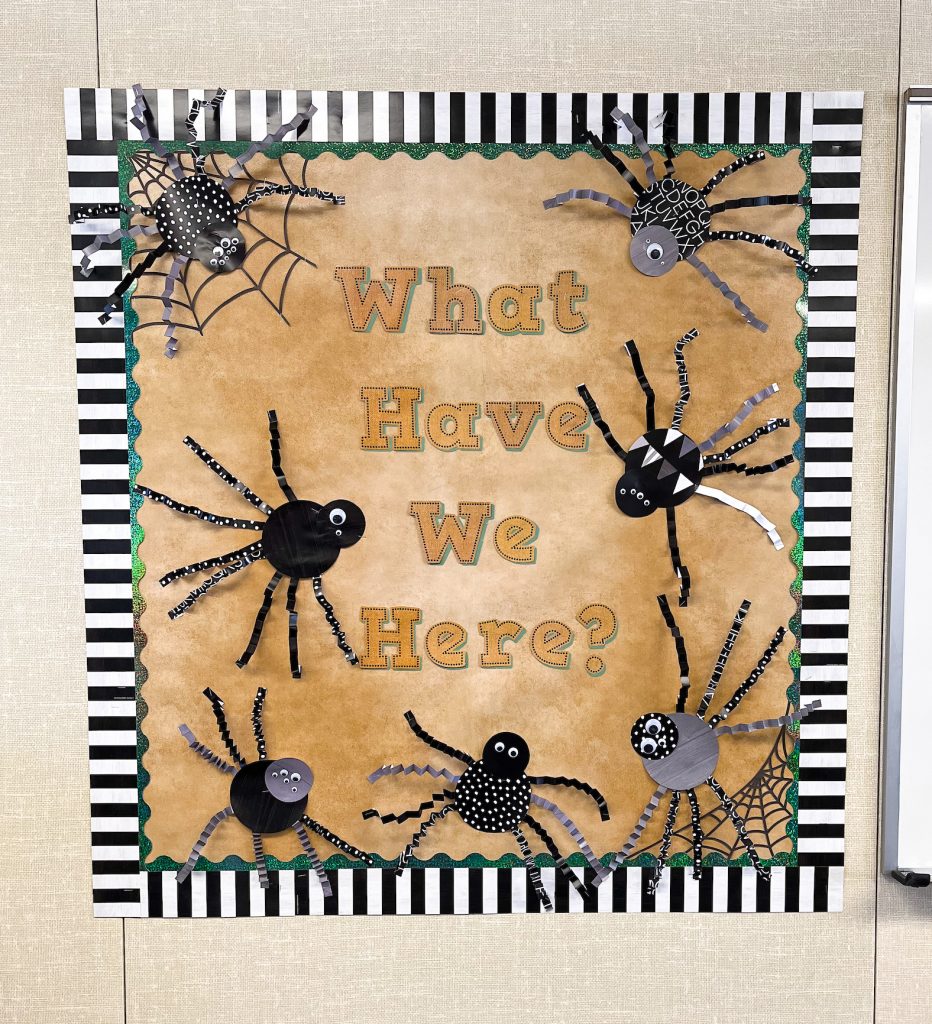
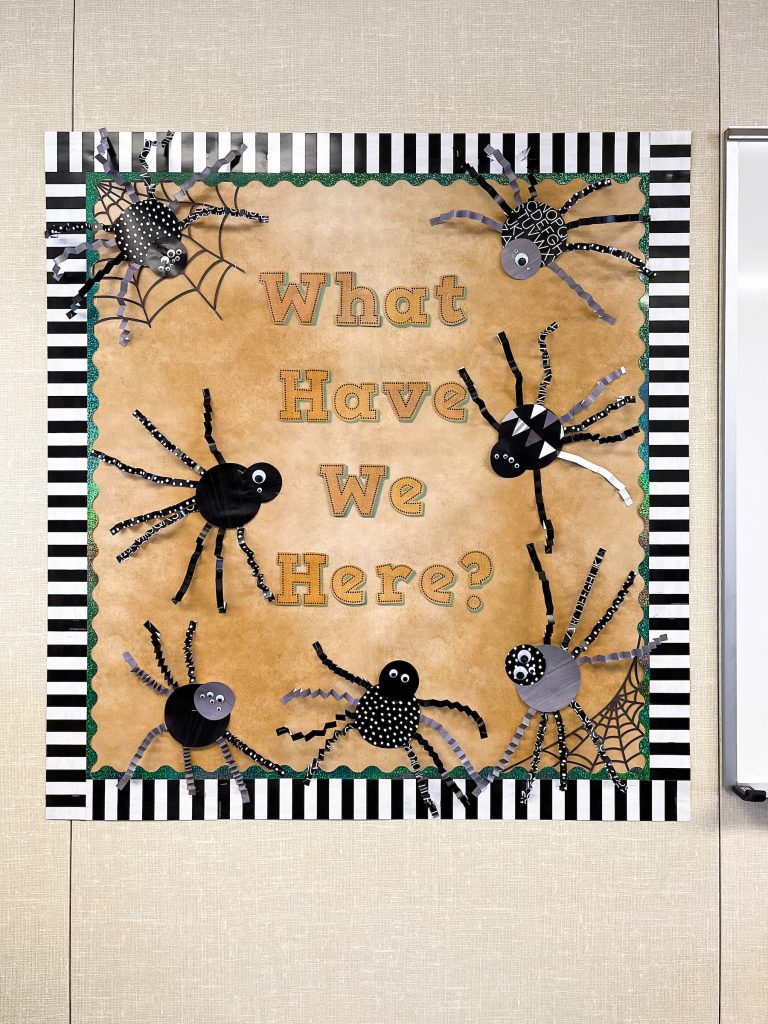
Put your students’ creativity on display! For the bulletin board shown below, we used archment Better Than Paper Bulletin Board Roll, Modern Farmhouse Black Stripes Straight Border Trim, and Green Sparkle Scalloped Border Trim.
